You can quickly create a resource stack based on a stack template.
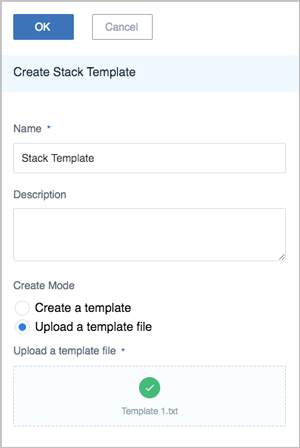
CloudFormation provides two types of stack templates: sample template and custom template. This topic mainly introduces the custom template. For information about the sample template, see the Sample Template topic.
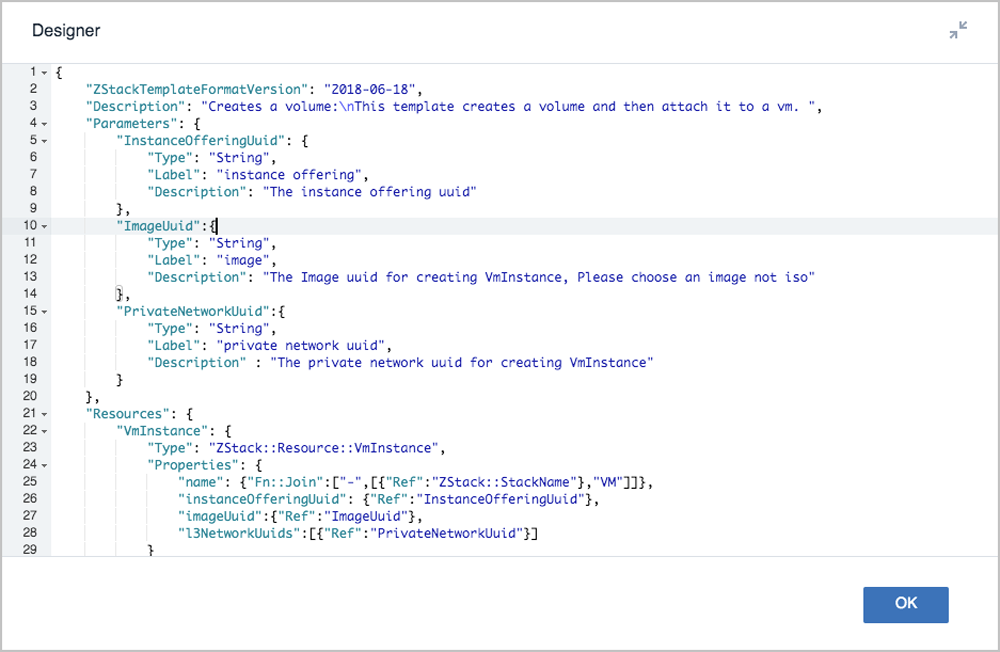
 Note: For more information about the template syntax, see the Stack Template Syntax topic.
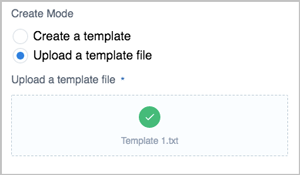 Note: For more information about the template syntax, see the Stack Template Syntax topic.Note: For more information about the template syntax, see the Stack Template Syntax topic.Note: You are not allowed to create a resource stack by using a disabled stack template.
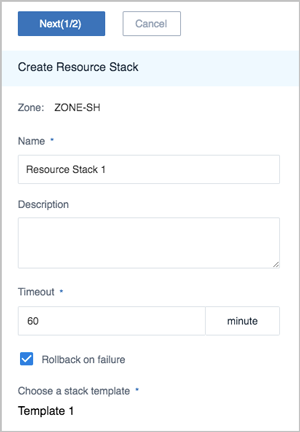
On the Stack Template page, select a stack template and click . Then, the Generate Resource Stack page is displayed.
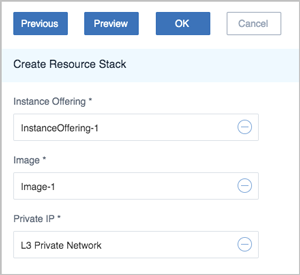
Note: For the stack template you submitted, if CloudFormation decides what resource the Resource filed in Parameters is specified as, the UI will provide a drop-down menu for you to select a corresponding resource. Otherwise, the UI will provide an input box for you to enter a field value (a string or a number).
The following is an example of creating a resource stack by using a selected custom template above. CloudFormation will automatically create a VM instance and attach a volume to it. Configure the following parameters:
 Note:
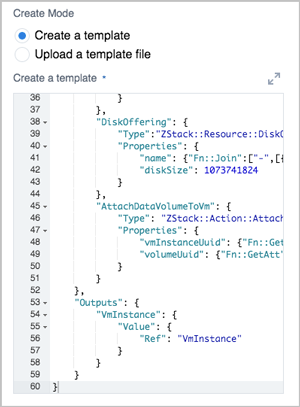
Note: You can modify a stack template in a text editor.
You can delete a stack template if you no longer need it.
© 2023, Shanghai Yunzhou Information and Technology Ltd (云轴科技). All Rights Reserved.
Back to Top
Email Us
contact@zstack.ioEmail Us
contact@zstack.ioEmail Us
contact@zstack.ioThe download link is sent to your email address.
If you don't see it, check your spam folder, subscription folder, or AD folder. After receiving the email, click the URL to download the documentation.Thank you for using ZStack products and services.
Submit successfully.
We'll connect soon.Thank you for using ZStack products and services.