ZStack can manage vCenter basic resources, namely vCenter virtual resources, in a unified manner, including adding a vCenter, synchronizing data for a vCenter, and deleting a vCenter.
Only resources of the hosts added to a dvSwitch can be imported to ZStack. If you do not add a host to a dvSwitch, the associated resources cannot be imported to ZStack.
 Note: ZStack can only take over VM networks rather than VMkernels or management networks.
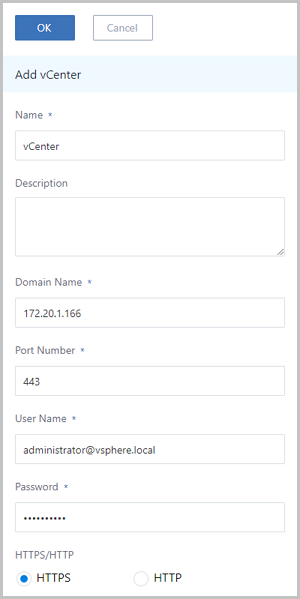
Next, we will introduce how to add a vCenter in ZStack.
 Note:
Note: 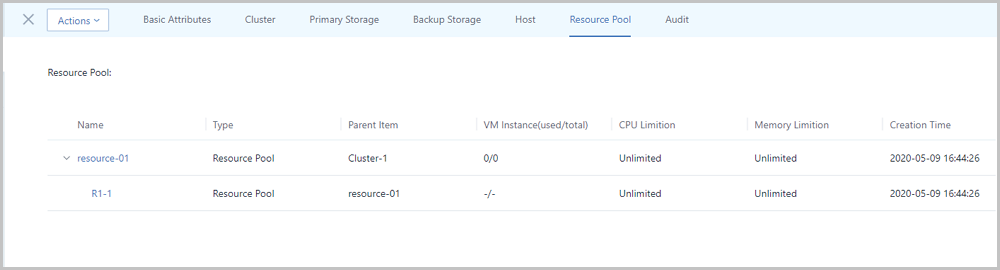 Note:
Note: For more information, see VMware Official Documentation.
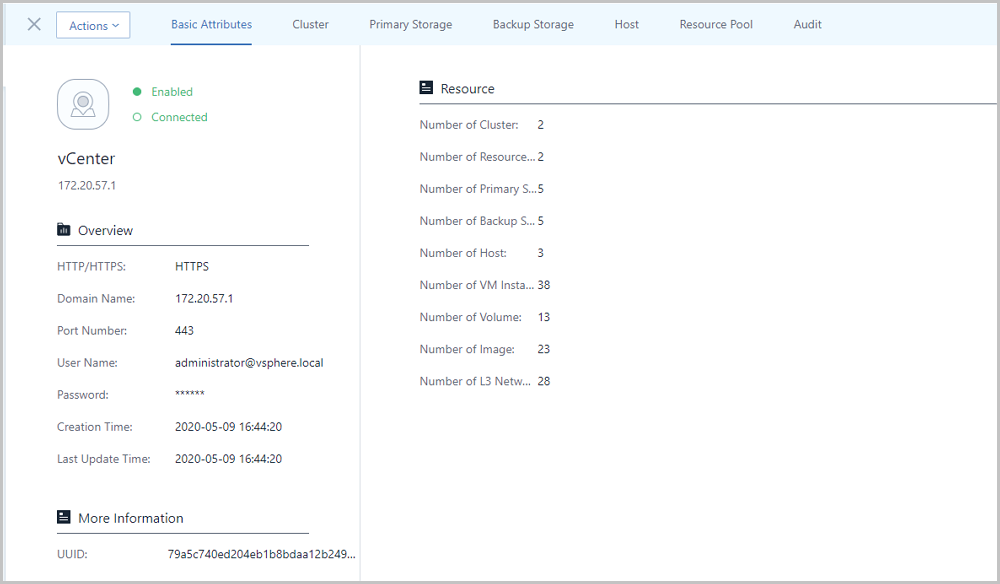
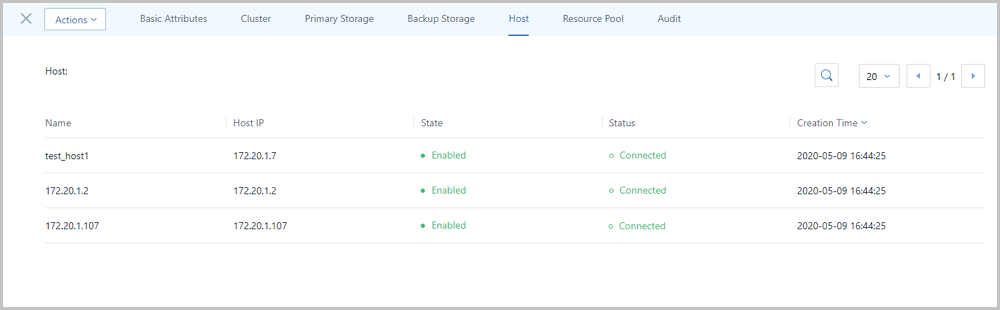
On the vCenter details page, click Actions to synchronize data or delete a vCenter.
Note: 
© 2023, Shanghai Yunzhou Information and Technology Ltd (云轴科技). All Rights Reserved.
Back to Top
Email Us
contact@zstack.ioEmail Us
contact@zstack.ioEmail Us
contact@zstack.ioThe download link is sent to your email address.
If you don't see it, check your spam folder, subscription folder, or AD folder. After receiving the email, click the URL to download the documentation.Thank you for using ZStack products and services.
Submit successfully.
We'll connect soon.Thank you for using ZStack products and services.