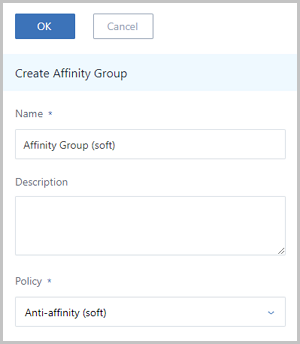
This topic mainly describes the scenario practice of the anti-affinity group (soft) to better manage VM instances and hosts.
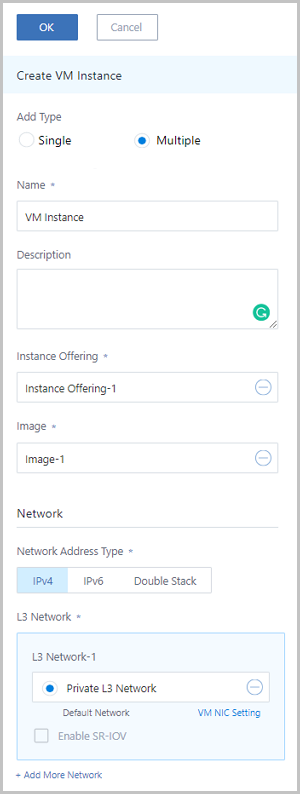
Scenario: In a cluster environment, you have four business VM instances, and want to deploy these VM instances dispersedly on three different hosts.
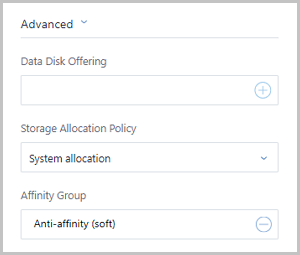
On the VM Instance management page, view that four business VM instances are dispersedly deployed on three different hosts and the affinity group (soft) takes effect, as shown in Verify Anti-Affinity Group (Soft).

This topic mainly describes the scenario practice of the anti-affinity group (hard) to better manage VM instances and hosts.
Scenario: In a cluster environment, you have three business VM instances, and want to deploy these VM instances dispersedly on three different hosts.

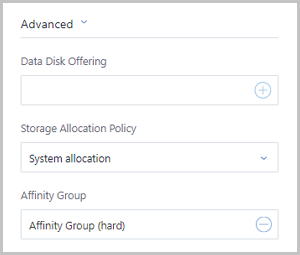
On the VM Instance management page, view that four business VM instances are dispersedly deployed on three different hosts and the affinity group (hard) takes effect, as shown in Verify Anti-Affinity Group (Hard)

So far, we have introduced how to use these two affinity group policies for VM instances and hosts.
© 2023, Shanghai Yunzhou Information and Technology Ltd (云轴科技). All Rights Reserved.
Back to Top
Email Us
contact@zstack.ioEmail Us
contact@zstack.ioEmail Us
contact@zstack.ioThe download link is sent to your email address.
If you don't see it, check your spam folder, subscription folder, or AD folder. After receiving the email, click the URL to download the documentation.Thank you for using ZStack products and services.
Submit successfully.
We'll connect soon.Thank you for using ZStack products and services.

